DIY How to make Paper Snowflakes [ Free Printable Guide ]
The secret of a good party decoration is all about the little details. The secret of beauty is also in the little details. We can find simplicity and beauty in a snowflake. A snowflake is delicate, beautiful and incredibly easy to make. Learn How To Make A Paper Snowflake with this tutorial and free printable guide.
Nature creates a lot of snowflakes. You can also do it with the same ease. Just follow the next step-by-step tutorial and create beautiful snowflakes for your winter or Winter Princess Party!
You don’t need water, ice or snow. Use light weight paper in any color you want for your snowflakes. You can use paper of any size, it will work the same because there are snowflakes of many sizes.
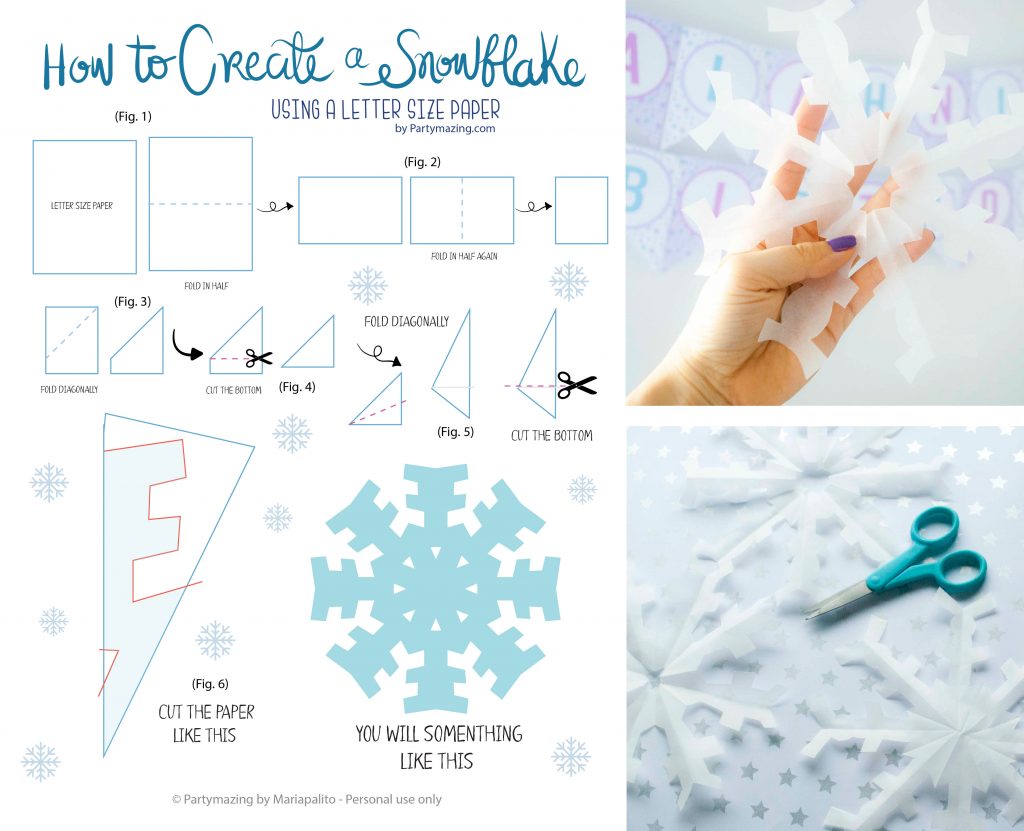
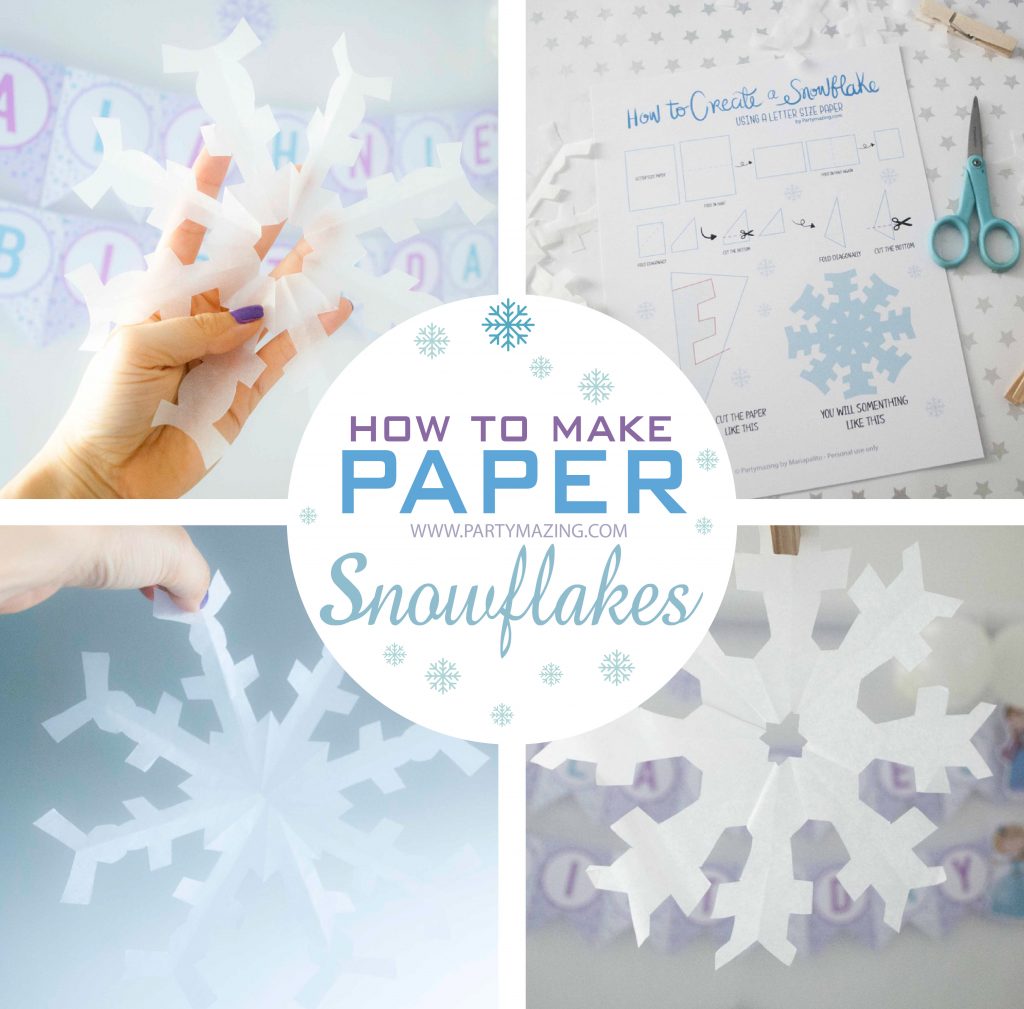
HOW TO MAKE PAPER SNOWFLAKES:
1. Start by folding the paper in half. After doing so, fold it back in half as indicated on the instruction page that you can download here.
2. Fold the paper diagonally (Fig. 3)
3. Cut the base so that you have a perfect triangle. (Fig. 4)
4. Fold back halfway diagonally. Cut off excess base.
5. With a pencil draw the figure marked in your triangle (Fig. 6)
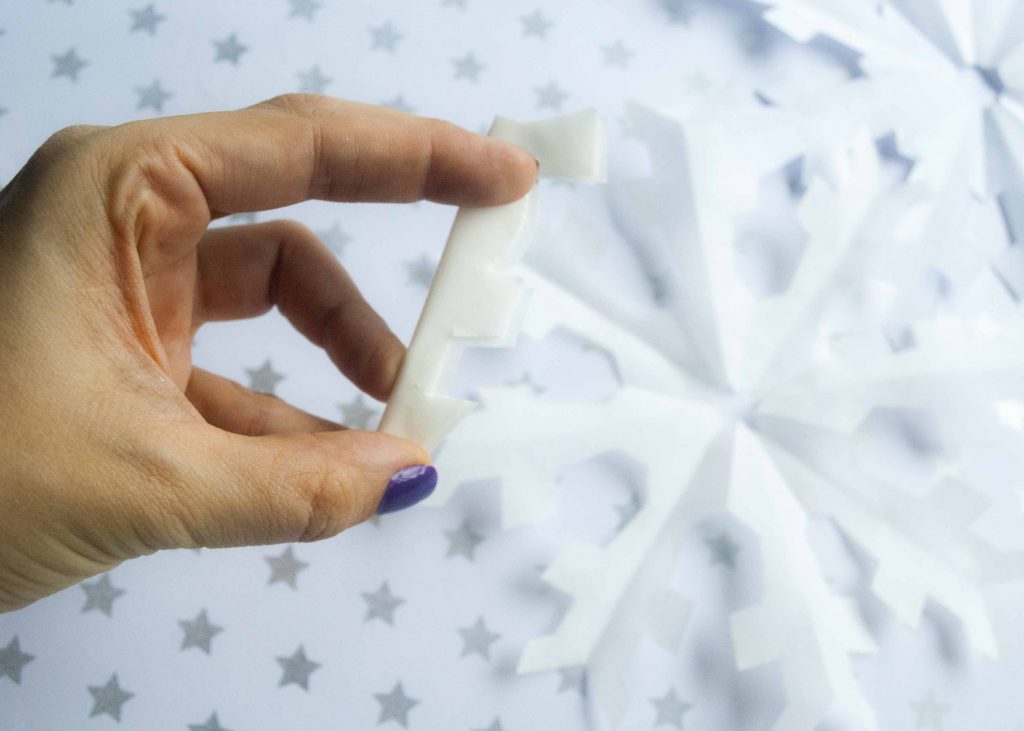
6. Cut the figure along the line.
7. Unfold and you will get a cute snowflake.
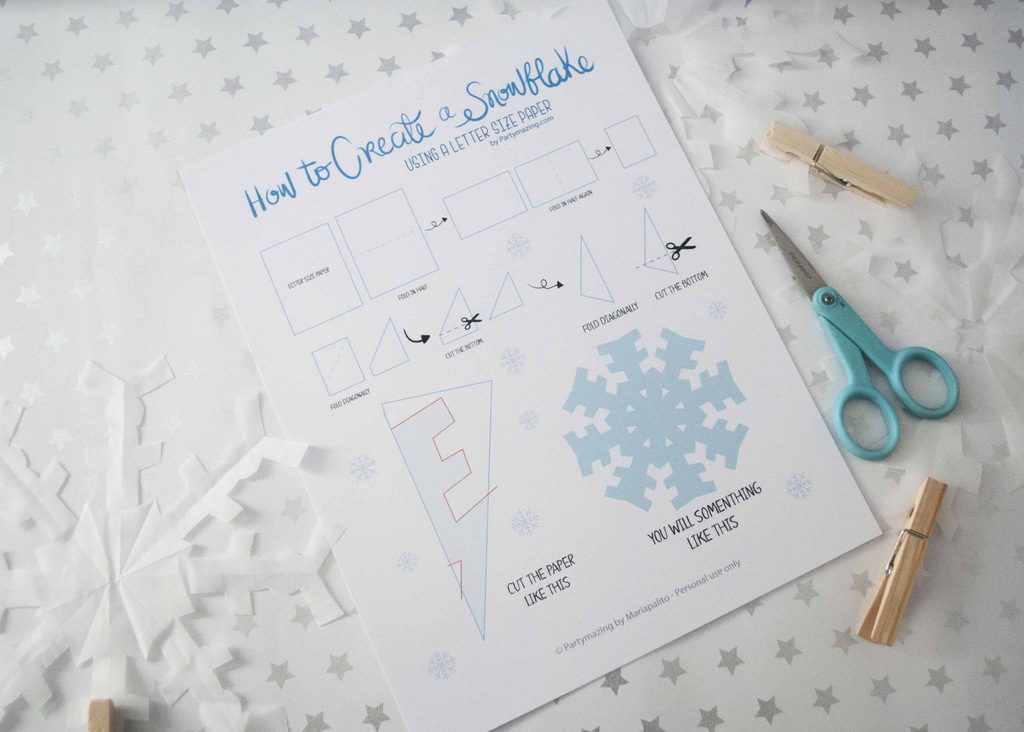
If you play with sizes and colors you will have a beautiful winter decoration, easy to make and economical. You do not need to break the piggy bank to create beautiful decor. Use DIY ideas and printables and create the most amazing party.
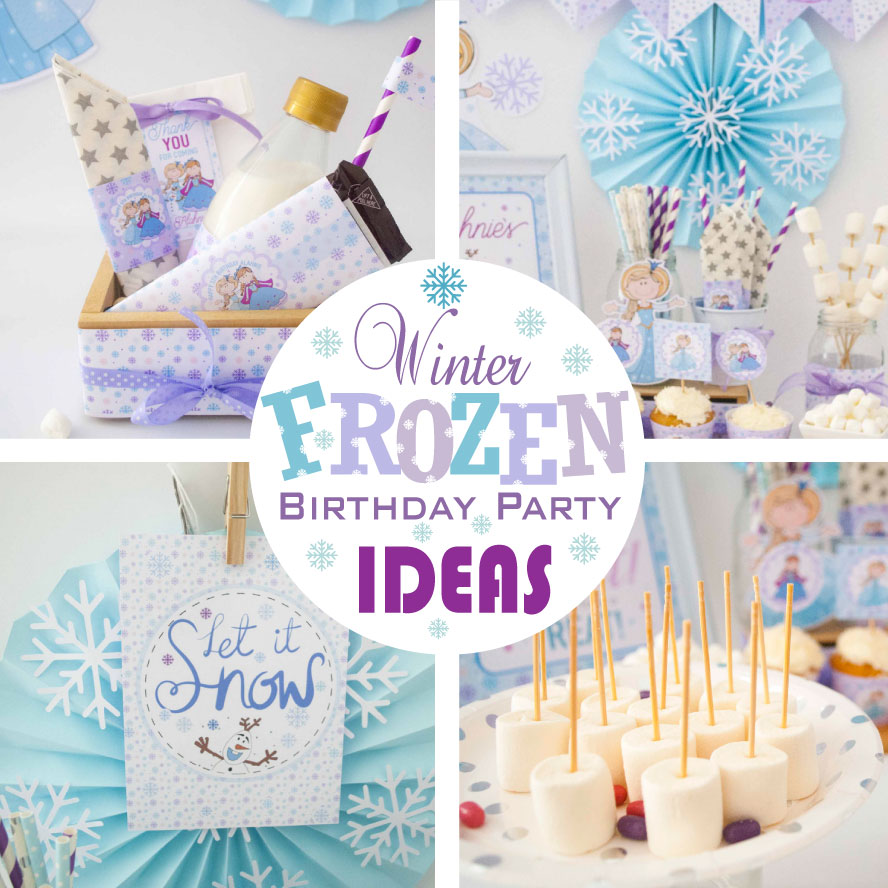
MORE FROZEN PARTY IDEAS