Easy Craftroom Organization Ideas
Today I have some EASY CRAFT ROOM ORGANIZATION IDEAS for you. How to organize your craft room using recycled items or things you already have at home!
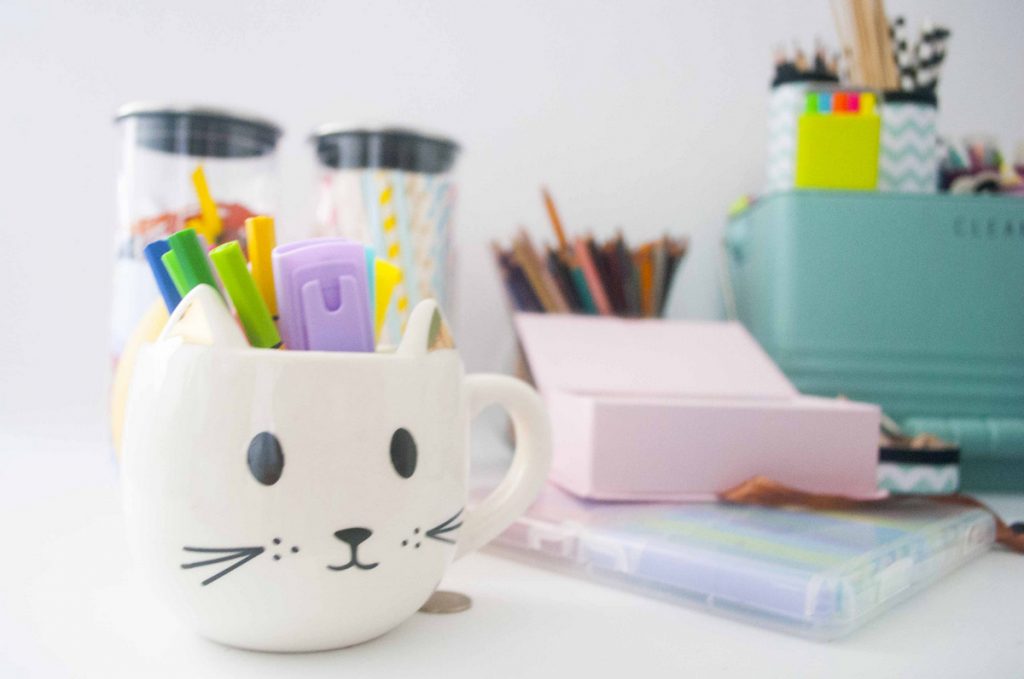
An easy way to organize your utensils in the Craft Room. If you have a space full of small objects that you use continuously and you don’t know how to organize them quickly, easily, and cheaply, this post is for you.
I usually have a large number of items around to keep organized. For example colored pencils, brushes, ribbons, markers, decorative clips, and many other objects in my workspace. Abobe all as they are small objects, it is a bit difficult to organize them and have them on hand. So many times my workspace looks messy, which makes it more difficult to start or develop any new project.
EASY CRAFT ROOM ORGANIZATION IDEAS:
So I’m going to share with you one of the systems that have helped me the most:
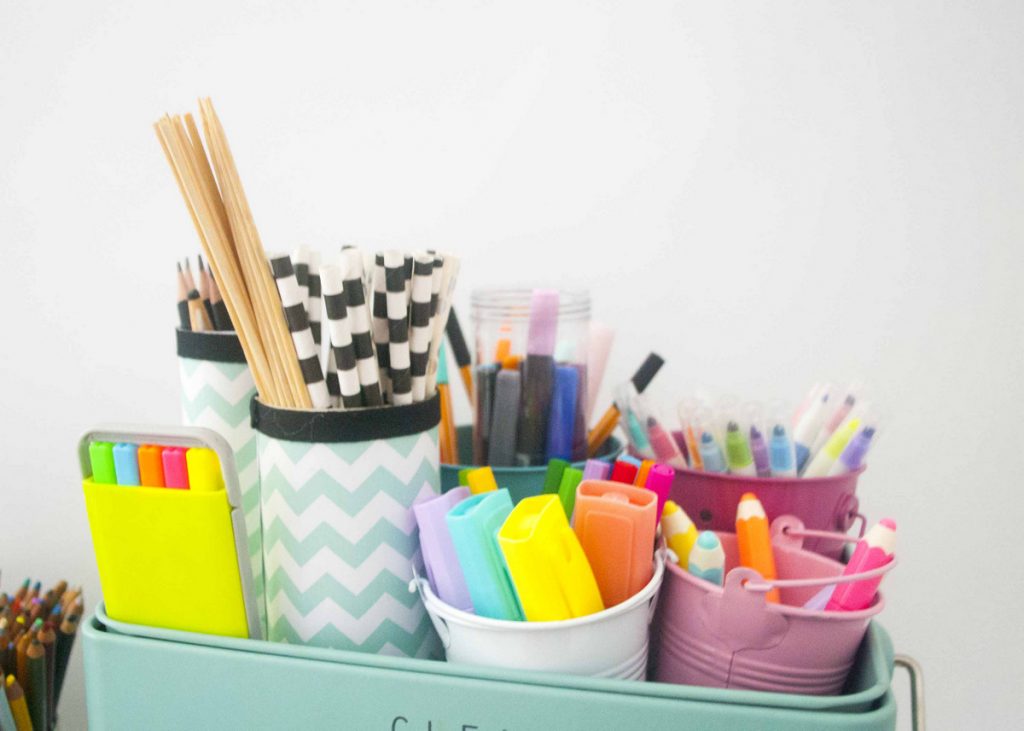
1. PUT THEM TOGETHER:
The secret to organizing workspaces is to group the different objects you have there. For example, put them together in groups of similar characteristics. Put all the colored pencils together, the brushes in another group, etc.
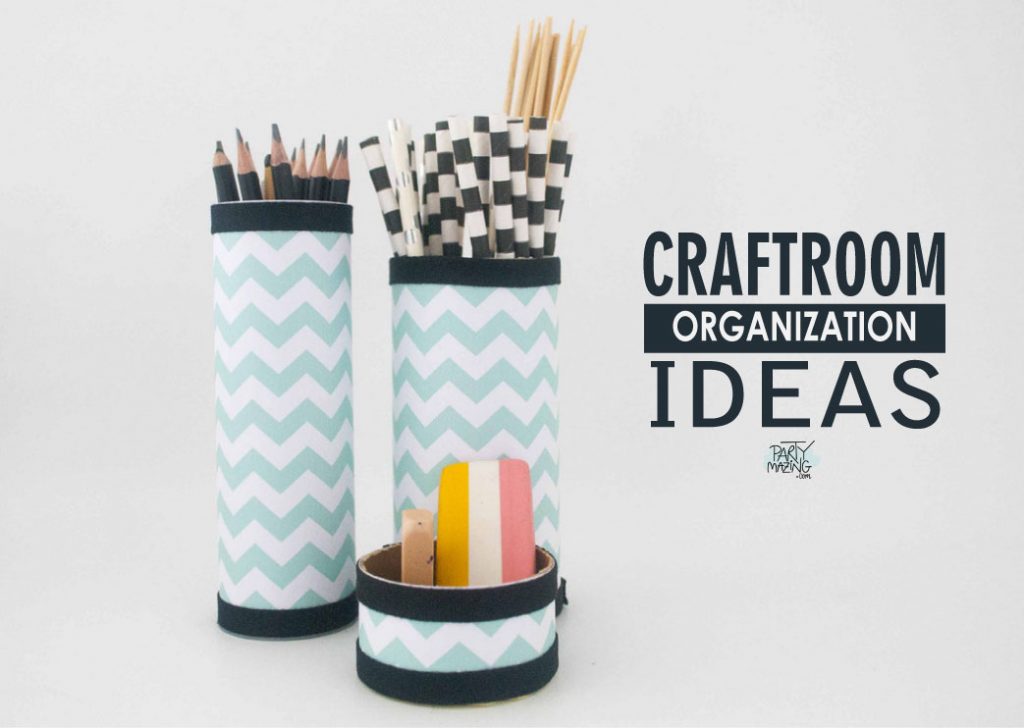
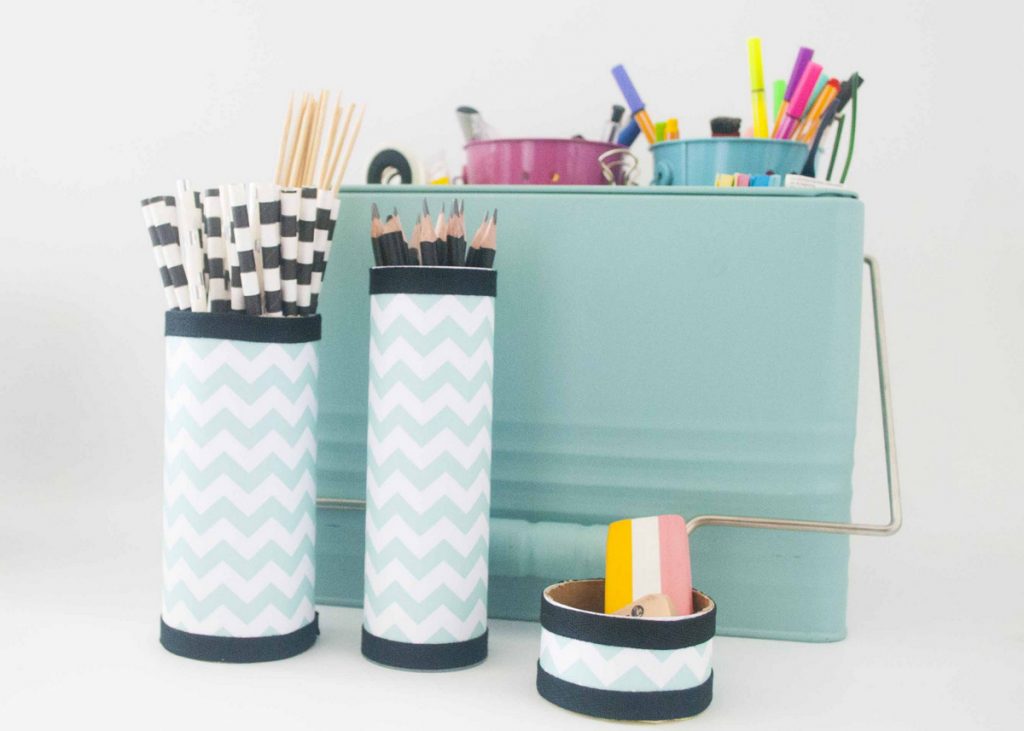
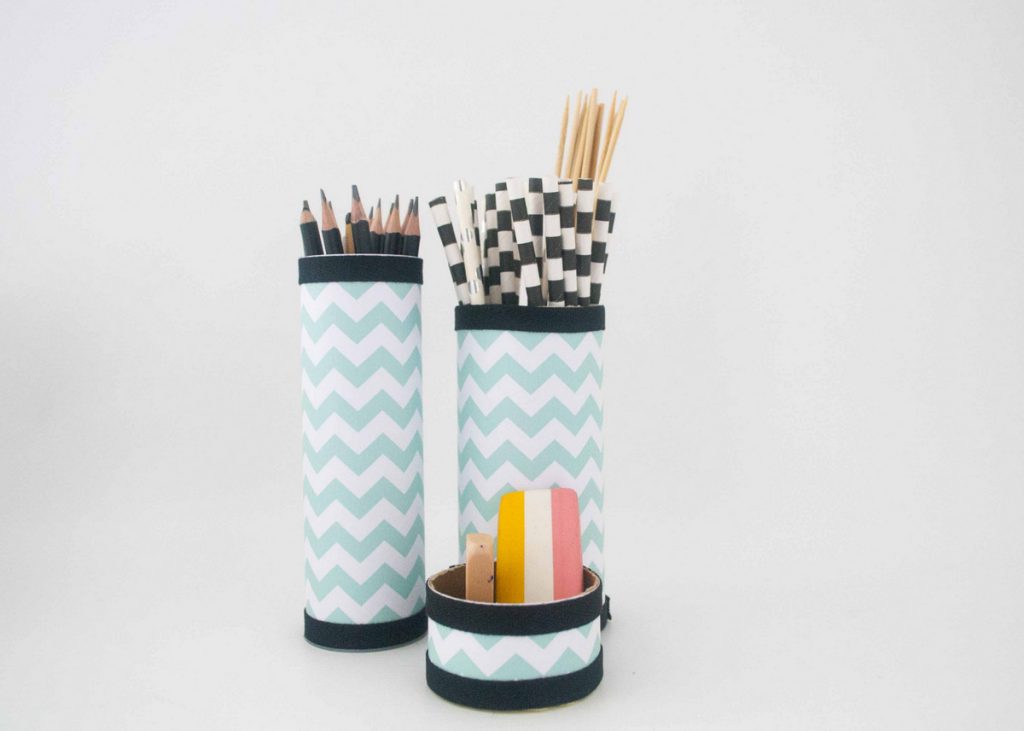
2. SAVE THE TOILET PAPER ROLLS:
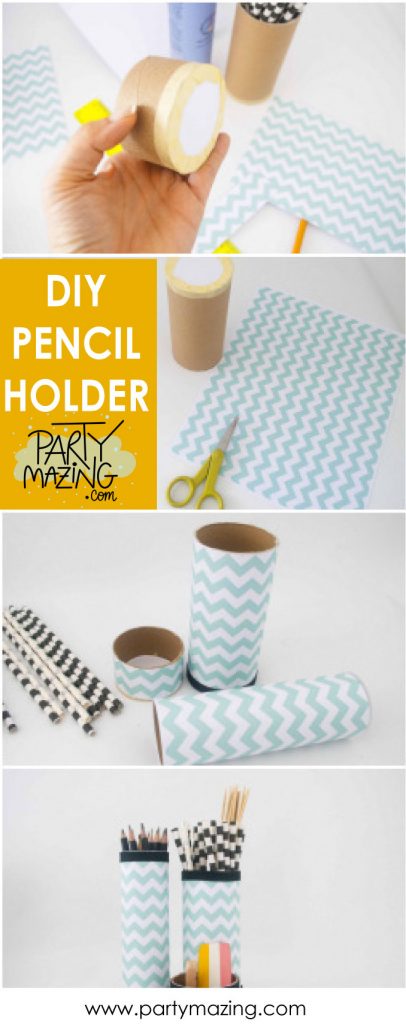
Use the decorated tubes to group loose objects. For example, you can put them in small groups on the desk or as compartments within larger drawers.
Get the cardboard tubes, cover one of its ends with some cardboard and glue. You can also cover its surface decorating it to your liking with the adhesive paper of any design.
This simple method has allowed me to organize many places in my house, including my study, the kitchen, and even the bathroom cabinet. Personally, I feel that tidying up the workspace before starting helps me activate creativity and be more productive.
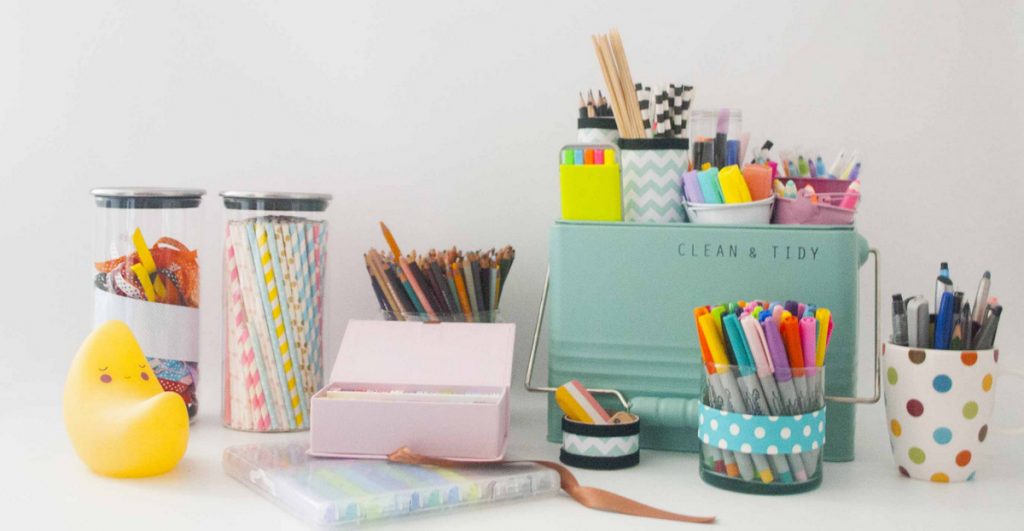
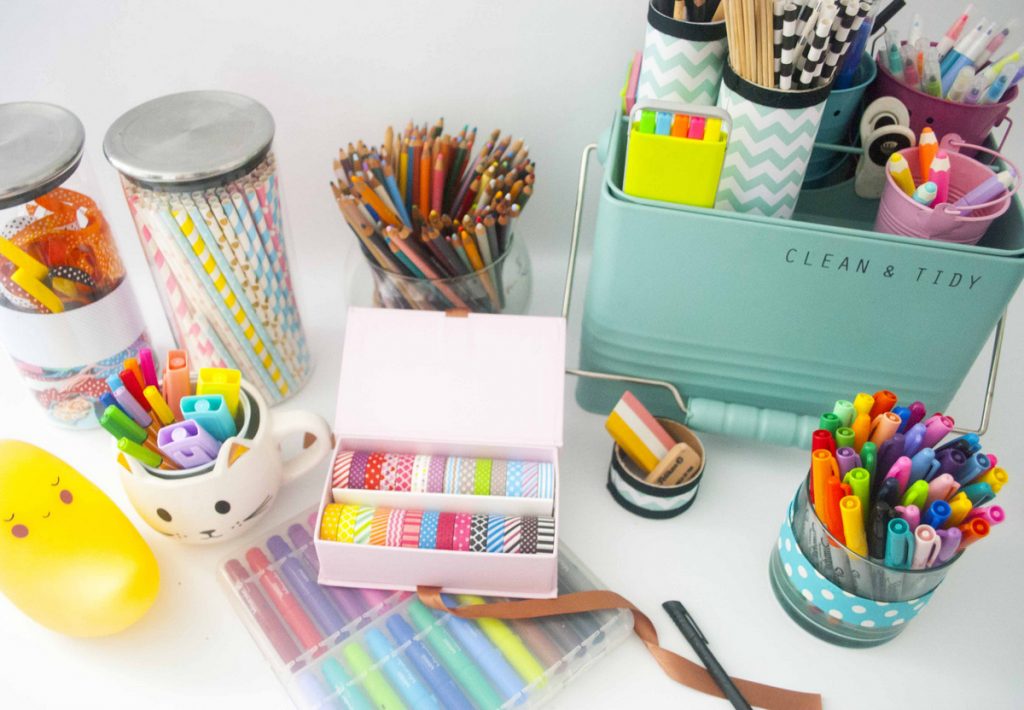
3. SAVE GLASSES, JARS AND CONTAINERS
The trick is to have all the items of the same kind together. I use anything that I have on hand to keep my tools organized. I use almond butter jars and some other tall jars that I have gotten from different places.
If you can get jars with lids even better. For example, I use a jar with lid for my straws, and ribbon to prevent them to get full of dust.
4. BOX IN A BOX
You can use boxes inside boxes to create small compartments for your small things. Create places for small and big things inside your drawers.
5. DE-CLUTTER ONCE IN A WHILE
If you are like me you want to use the time doing your craft, lettering, or drawing instead of cleaning. Even though I love cleaning and organizing, it is not always like that.
Once in while I keep trapped into my busy week and I do not leave time for my cleaning.
Every time I have a little time I tackle a small area of my studio and I clean it. I remove all the run-out markers or small pieces of paper that I have flying around. You do not need to clean the whole studio all at once. Create some easy and basic routines to stay organized and to keep everything in place.
6. FIND A PLACE FOR EVERYTHING
Everything should have a place. Do not just start putting things around because chaos will dominate your space really soon. If you group things and designate places you will have a pretty and useful space for you to enjoy.